Microscope Buying Guide for Home Educators: Comparing USB, Stereo and Compound Models
Twenty minutes with a jar of pond water can teach a child more about living things than a week of worksheets. But what those twenty minutes actually look like depends almost entirely on the microscope sitting on the kitchen table. Choose badly and you get a blurry, wobbling headache machine that gets used twice and then lives in a cupboard. Choose well and it comes out every time somebody finds a strange beetle or a leaf with spots on it.
Most families start by hunting for the highest magnification they can afford. That is the wrong end of the problem. Magnification is the easiest thing to print on a box and the least useful thing to compare. What follows is a practical look at the three types of microscope home educators actually buy, and what each one is genuinely good at.
Start with the specimen, not the specification
Before comparing models, decide what your family is most likely to put under the lens. Write down three things you would love to look at this month. Then check the list below.
- Coins, stamps, fabric weave, insect legs, bark, soil, seeds, feathers — a stereo microscope or a USB camera handles all of these, and enjoys it.
- Onion skin cells, pond water, yeast, prepared slides, crystals — these need a compound microscope with transmitted light.
- Photographing findings, showing a grandparent, printing images for a folder — a USB microscope is the simplest route to a picture on a screen.
Being honest about that list saves money. A family who mostly studies rocks, beetles and moss will get far more from an inexpensive stereo microscope than from an expensive compound one they never quite get on with.
USB microscopes: cheap, digital, and good for sharing
A USB microscope is a small camera on a stand that plugs into a laptop or tablet. There are no eyepieces, so everyone gathers around the screen instead. That alone makes them popular with siblings, co-ops and anyone who has ever heard the phrase "let me have a turn" forty times in ten minutes. You can capture stills and short videos, which is excellent for watching crystals form or mould spread inside a sealed container.
The trade-offs are real. Depth of field is shallow, so anything with height goes soft at the top or bottom. Many cheap models are fixed-focus, and the quoted magnification often mixes optical zoom with digital enlargement, which just makes a small blurry image bigger and blurrier. Handheld versions need very steady hands. For flat, well-lit subjects — coins, leaves, textile, paper — they are brilliant value. For a wriggling woodlouse, less so.
Stereo microscopes: the family workhorse
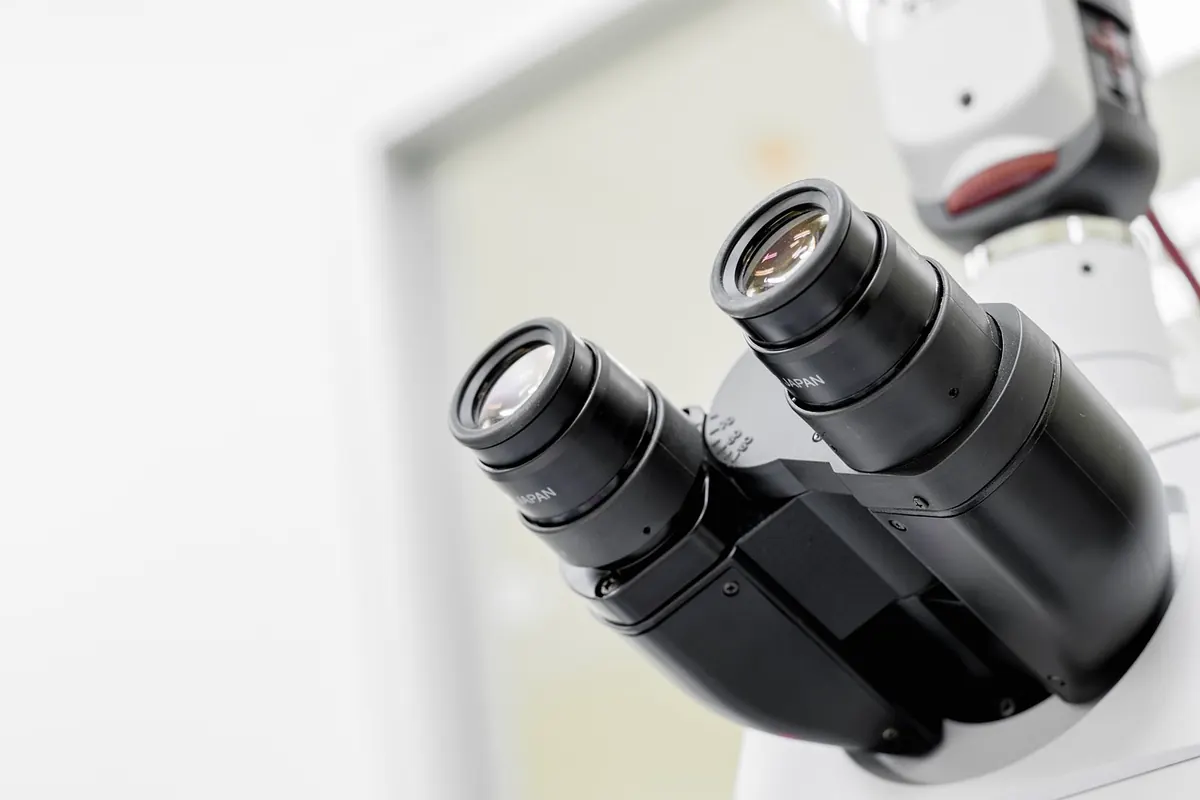
A stereo microscope has two eyepieces and two separate light paths, so your brain gets a genuine three-dimensional view. Magnification is modest, usually somewhere between 10x and 40x, and that is plenty. You look down from above with reflected light, and the working distance is long enough to hold tweezers, a paintbrush or a scalpel under the lens while you watch what you are doing.
This is the microscope to buy if you have children under about ten, or if your interests lean natural history rather than cell biology. Dissecting a flower, examining a beetle's mouthparts, sorting minerals, comparing seeds, looking at the weave of a jumper — all comfortable and forgiving. When you shop, check that at least one eyepiece has a dioptre adjustment, that the focus knob moves smoothly rather than in lurches, and that the base is heavy enough not to skate across the table.
Compound microscopes: for cells and very small things
Compound microscopes shine light up through a thin specimen on a glass slide. Typical eyepieces are 10x, and objectives of 4x, 10x and 40x give you 40x, 100x and 400x. A 100x oil-immersion objective takes you to 1000x, which sounds impressive and is genuinely fiddly at home; you can study cells perfectly well without it.
What matters here is the stand and the stage. A mechanical stage lets you move the slide in small controlled steps instead of chasing a cell around with your fingers. Coarse and fine focus knobs are essential. A condenser with an iris diaphragm controls the light properly, which is often the difference between clear cell walls and a grey fog. Binocular models cost more and are far kinder on the eyes than monocular ones. Standard objectives mean you can replace or upgrade a single lens later rather than the whole instrument.
Cost, magnification and best uses compared
- Cost: USB microscopes are the cheapest entry point. Stereo microscopes sit in the middle. A compound microscope with good optics costs more, and the difference in what you can see is worth paying for.
- Magnification: USB models vary wildly and often overstate what they do. Stereo models give roughly 10x–40x. Compound models give roughly 40x–400x for everyday work.
- Best uses: USB for screens, photos and flat specimens; stereo for whole objects, dissection and young children; compound for cells, microorganisms and prepared slides.
- Main drawback: USB has no depth and shallow focus; stereo cannot show cells; compound needs thin slides, careful lighting and a bit of patience.
What matters more than magnification
Resolution is the ability to show two close things as two things, and it is set by the quality of the optics, not by the number on the box. Beyond a certain point, extra magnification just enlarges an empty blur — the trade calls it empty magnification, and it is the most common disappointment in budget kits. A well-made 400x instrument beats a wobbly 1000x one every single time.
So look for decent glass, a stable metal stand, smooth focus, a proper light source and eyepieces you can look through without pressing your face into them. Those qualities show up in secondhand school microscopes, which are often a wiser purchase than a shiny new unbranded kit.
Practical tips for getting a clear view
- Always start on the lowest power, find your specimen, then work upwards.
- Centre the specimen before changing objectives, or it vanishes sideways.
- Use a coverslip on wet mounts; it flattens the water and stops the lens getting splashed.
- Clean lenses with lens tissue only, never a sleeve or a tea towel.
- Never force a focus knob. If it will not turn, something is wrong.
- Wash hands after handling pond water or soil, and supervise the use of stains such as methylene blue.
- Keep the dust cover on, and add a sachet of silica gel if you store it somewhere damp.
Lowest power first, then centre, then change. Nearly every "broken microscope" is a specimen sitting just outside the field of view.
Choosing your first microscope
If you have young children, buy a stereo microscope first. It is tough, intuitive and immediately rewarding. If your children are in their teens and asking about cells, save for a compound microscope with a mechanical stage and binocular eyepieces. If your budget only stretches to one instrument and screens matter to your family, a USB microscope plus a good hand lens covers a surprising amount of ground.
Whatever you choose, budget a little for slides, coverslips and a notebook, and ask about returns before you buy. If you can, look through the instrument before handing over money — a microscope is a tool you use with your eyes, and comfort is not a trivial detail. Get that right, and the microscope becomes the thing everyone reaches for when something interesting turns up in the garden.
Photo: Vector8DIY / Pixabay