The Water Cycle in a Jar: A Visual Explainer for KS2 Learners
A puddle disappears on a warm afternoon. An hour later, rain arrives from a sky that looked empty. Two different events, one process — and you can show the whole thing on a windowsill in under half an hour.
The jar model is not a miniature atmosphere. It is a small, visible demonstration of three stages that are usually too slow, too large or too spread out to watch: evaporation, condensation and precipitation. That visibility is the point. Once children have watched droplets form on a cold surface and fall back into the water below, the vocabulary has something concrete to attach itself to.
Why a jar works better than a diagram
Water cycle diagrams are everywhere, and most of them are perfectly good. But arrows on a page tell a child what happens. A jar lets them make it happen, then notice the order of events for themselves. Warm water at the bottom, a cold surface at the top, and a temperature difference doing all the work.
It also gives you an honest starting point about models. The jar has a lid, so the water cannot escape; the real atmosphere has no ceiling. The droplets in your jar fall a few centimetres, not a kilometre. Say this out loud rather than hoping nobody notices. Children who know a model is a simplification ask better questions about the real thing.
What you need
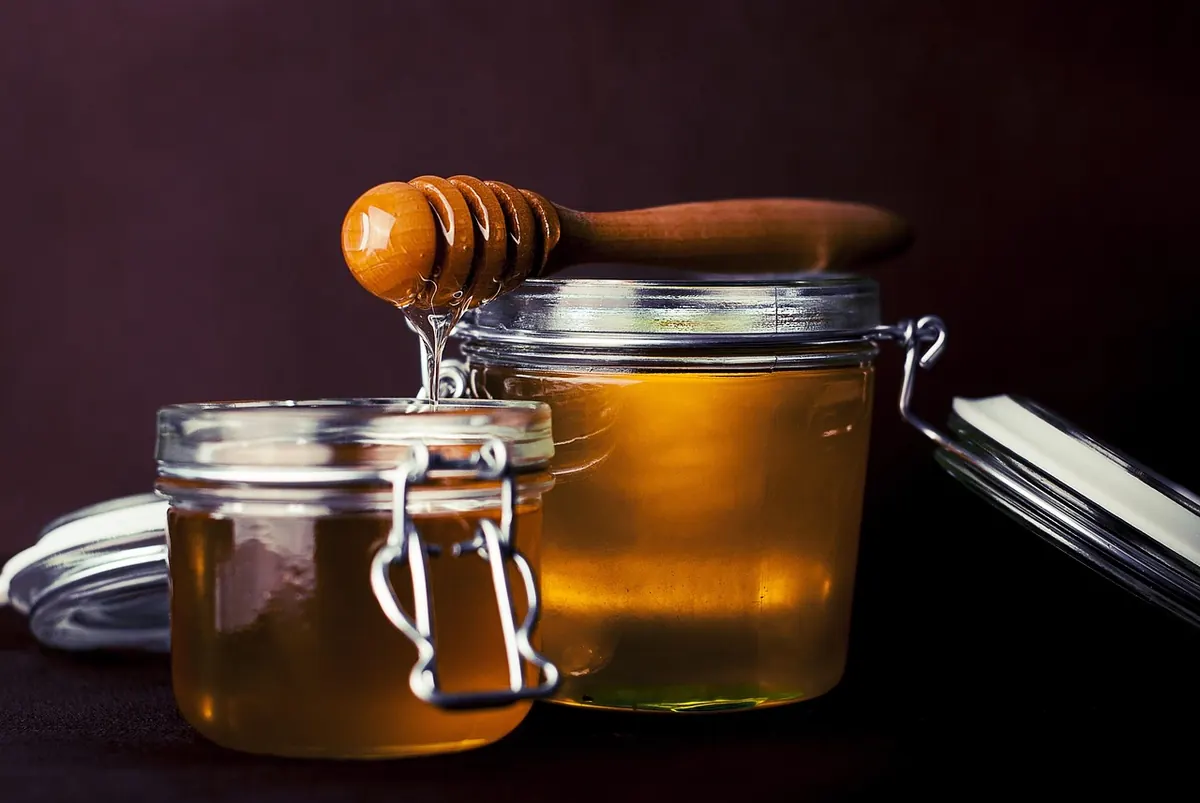
- A clean glass jar with a wide neck — a jam jar or a large Kilner jar works well
- Warm water from a tap or a kettle that has stood for ten minutes (never boiling)
- A shallow metal dish or a small plate that sits neatly over the mouth of the jar
- Four or five ice cubes
- A sunny windowsill or a desk lamp
- A clock or timer, and a notebook for recording what happens when
Optional extras that add interest: a drop of blue food colouring in the water, and a strip of masking tape on the side of the jar to mark the starting water level.
Setting it up, step by step
- Ask an adult to half-fill the jar with warm water, leaving about five centimetres of space below the rim.
- Stir in a single drop of food colouring, if you are using it. This makes the droplets easier to see against the glass.
- Mark the water level with tape so you can check it later.
- Sit the metal dish or plate on top of the jar so it covers the opening.
- Place the ice cubes in the dish. This is what makes the top of the jar cold.
- Move the jar to a sunny windowsill or beside a lamp — close enough to feel the warmth, not touching a hot bulb.
- Wait. The first signs usually appear within five to ten minutes, though a cool room and cool water will slow everything down.
Keep the jar still once it is set up. Bumping the table knocks droplets off early and muddles the sequence you are trying to show.
What happens, stage by stage
Evaporation
The warm water releases molecules from its surface as an invisible gas called water vapour. Nothing is boiling; this happens at any temperature above freezing. The water level in the jar slowly drops, which is why the tape mark matters. This is the same process that dries washing on a line and empties a puddle after rain.
Condensation
The vapour rises and meets the cold underside of the dish. Cooling slows the molecules down, and they clump together into tiny liquid droplets. A grey mist appears, then a film of water on the metal and on the upper walls of the jar. This is exactly what happens when a bathroom mirror steams up or when breath fogs a cold window.
Precipitation
Droplets grow heavier as more vapour joins them. Eventually gravity wins and they fall back into the water below. In a jar this takes a few seconds. In the atmosphere, droplets and ice crystals inside a cloud collide and grow until they are heavy enough to fall as rain, snow, sleet or hail.
Collection
The fallen water joins the water at the bottom, and the cycle is ready to start again. In the real world the same water collects in rivers, lakes, the sea and underground, then evaporates once more.
Nothing is added and nothing is lost. The water simply changes where it is and what it is doing.
Vocabulary to teach alongside the model
- Evaporation — liquid water changing into water vapour, a gas
- Water vapour — water as an invisible gas in the air
- Condensation — water vapour cooling and changing back into liquid droplets
- Precipitation — water falling from clouds as rain, snow, sleet or hail
- Collection — water gathering in oceans, rivers, lakes and underground
- Run-off — water flowing across the land into streams and rivers
- Transpiration — water vapour released by plants through their leaves
- Atmosphere — the layer of air surrounding the Earth
Two muddles worth clearing up early
The white cloud above a kettle is not water vapour. Water vapour is a gas and completely invisible. What you see is tiny liquid droplets that have already condensed in the cooler air. Children often use the two words interchangeably, and it causes confusion later when they learn that clouds are made of droplets and ice crystals, not gas.
The water has not vanished. When a puddle dries, the water has moved into the air. The tape mark on your jar gives you a quiet, physical piece of evidence for that, and it is worth revisiting a day later when the level has dropped further.
Questions to ask while you watch
- Where did the water on the underside of the dish come from?
- Why does the ice matter? What would happen without it?
- Would the jar work faster on a hot day or in a cold room?
- Which part of this model is like a cloud, and which part is like the sea?
- Where does the energy for all of this come from?
Run it again, change one thing
A single demonstration is a good lesson. Two demonstrations with one variable changed is a proper investigation. Try the same jar with cold water and no ice, or with ice but in a shaded spot, and time how long each stage takes. Record the results in a simple table: temperature of the water, time to first droplets, time to first drip. Children often predict that cold water will condense faster, then discover that evaporation is the stage that slows down and the whole cycle stalls.
Finish by linking the jar to things they already know: a steamed-up car window, dew on grass on an autumn morning, the ring of water left under a cold drink, wet washing drying in the garden. The water in your jar has been around for billions of years and has almost certainly been through a dinosaur. That thought tends to stick with KS2 learners far longer than any labelled diagram.
Photo: fancycrave1 / Pixabay