Make Your Own Red Cabbage pH Indicator: A Step-by-Step Acid and Alkali Experiment
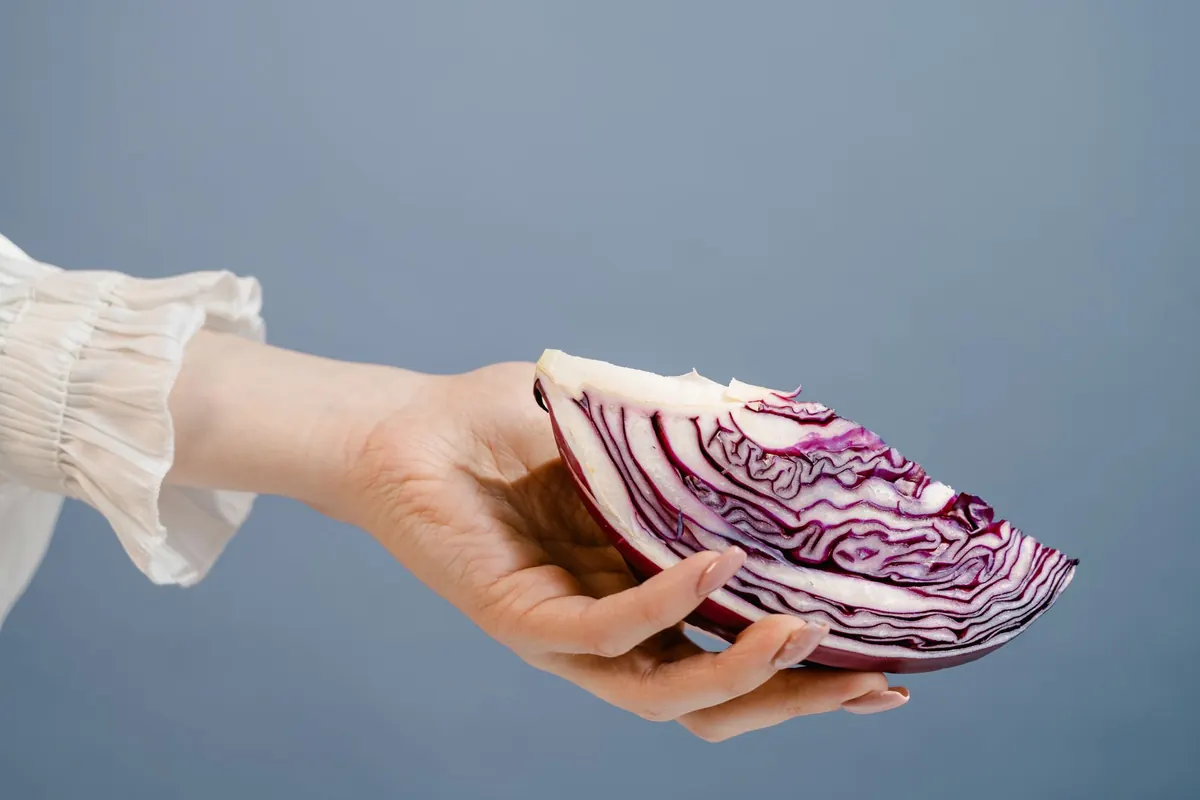
A red cabbage is one of the cheapest pieces of chemistry kit you can get. Pour hot water over a handful of chopped leaves and the liquid turns a deep blue-purple. Add a splash of vinegar and it flushes pink. Add a pinch of bicarbonate of soda and it swings green. All of that happens because of pigments the plant already makes, and you can borrow them for an afternoon of testing.
The experiment takes about half an hour, uses equipment you probably already own, and ends with a working indicator you can run against drinks, cleaning products and the contents of your kitchen cupboards.
Why red cabbage works
The colour comes from anthocyanins, water-soluble pigments that sit in the sap of the cabbage's cells. Each molecule changes shape as the concentration of hydrogen ions around it changes, and a change in shape means a change in which wavelengths of light it absorbs. More acid, more red. More alkali, more blue, then green, then yellow.
You find the same pigment family in blackcurrants, blueberries, red onion skins and hydrangea flowers, which is why gardeners treat hydrangea colour as a rough clue about their soil. Red cabbage is better for testing because it contains a blend of several anthocyanins. That blend spreads across a wide range of colours rather than flipping between the two shades you get from litmus.
What you will need
- Half a red cabbage
- A sharp knife and a chopping board
- A saucepan, or a heatproof bowl and a kettle
- Around 500 ml of water
- A sieve or colander
- Glass or plastic containers: a white ice cube tray, a set of small clear glasses or a row of white egg cups all work well
- A white plate or sheet of paper to view the colours against
- Droppers, pipettes or teaspoons for adding liquids
- A selection of household liquids and something to label them with
- Optional: an apron and eye protection
Making the indicator
- Chop the cabbage finely. The smaller the pieces, the faster the colour comes out. You want enough to loosely fill a large mug.
- Cover it with water. About 500 ml is plenty. Use just enough to cover the cabbage — a smaller volume of water gives a stronger extract.
- Warm it gently for 10 to 15 minutes. Steam and small bubbles are what you want. A hard, rolling boil dulls the colour over time.
- Let it cool. The liquid will darken as it stands. Leaving it for another ten minutes before straining costs nothing.
- Strain the liquid into a jar. That deep purple-blue liquid is your indicator. The cooked cabbage can go on the compost.
If you would rather not use the hob, blitz the chopped cabbage with cold water in a blender and strain it. It works, but the extract comes out weaker, so you may need to add more of it to each test.
Stored in a sealed jar in the fridge, the indicator keeps for several days. Freezing it in an ice cube tray stretches that to months, and one cube is about the right amount for a single test.
Testing your household liquids
Put a tablespoon of indicator into each container and set one aside as a control with nothing added. Add your test liquid a few drops at a time, swirl, and watch. Some liquids change the colour instantly; others creep towards a new shade over a minute or two.
Good things to try: lemon juice, vinegar, cola, milk, tap water, bottled water, bicarbonate of soda dissolved in water, washing soda, hand soap, shampoo and a small piece of crushed antacid tablet. Keep the amounts of indicator equal so the samples are fair to compare, and always view them against white paper — colours look different against a wooden table or a dark worktop.
A few sensible rules. Do not taste anything you have used in the experiment. Never mix bleach with ammonia or with anything acidic, and skip bleach altogether here: it breaks the pigment down rather than changing it, so it tells you nothing useful. If you are testing anything stronger than soap or washing soda, wear eye protection and work near a tap.
Reading the colour chart
Anthocyanin extracts do not have sharp colour changes, so treat these as bands rather than exact numbers:
- pH 1–2 (strong acid) — lemon juice, vinegar, cola: red to pink
- pH 3–4 (mild acid) — orange juice, fizzy drinks, tomato juice: magenta to bright pink
- pH 5–6 (weak acid) — milk, most tap water: purple to violet
- pH 7 (neutral) — distilled water: blue-violet, sometimes a clear blue
- pH 8–9 (mild alkali) — bicarbonate of soda solution: blue shifting to blue-green
- pH 10–11 (moderate alkali) — washing soda, soapy water: green
- pH 12–14 (strong alkali) — household ammonia cleaner: yellow-green to yellow
Tap water varies by region and can sit anywhere from slightly acidic to slightly alkaline, so it makes a good local reference point. Two cabbages will not give identical extracts either, which is why comparing your samples side by side is more reliable than matching them to a chart.
Turning it into indicator paper
Soak strips of thick kitchen roll or coffee filter paper in the extract for a minute, then hang them up to dry on a rack or a clothes horse. Once dry, cut them into strips and keep them in a labelled jar or a zip-top bag; they last for months.
To use a strip, drop a little of the test liquid onto it and watch the colour develop. This is the easiest way to test soil. Mix a spoonful of soil with distilled water, stir, leave it to settle, then dip a strip into the clearer liquid above the sediment.
Clean-up, storage and where to take it next
Rinse glassware in cold water before it goes near hot water or a dishwasher, because heat sets plant pigments and turns a quick rinse into a permanent stain. Compost the cabbage, pour the used test liquids down the sink with plenty of water, and wash your hands.
A neat way to finish is a neutralisation demonstration. Take a cup of indicator turned pink with vinegar, then add bicarbonate of soda solution a drop at a time until the colour swings back through purple and on to blue. Then try the reverse, and see how close you can get to the neutral blue-violet sitting in your control cup.
From there, the obvious extensions are all about variables. Does the extract work better warm or chilled? Does the colour from a red onion skin give the same reading as cabbage? Does a diluted acid change the colour more slowly than a concentrated one? Keep the amounts consistent, label everything, and write down what you actually saw rather than what you expected.
Photo: MART PRODUCTION / Pexels